Click to download: FRG-1-0-0-setup.zip
Version 1.0.0
Copyright © 2020 Matt Robb (KD2OTG). All rights reserved.
Index
- License
- About
- History
- Installation
- Getting Started with the Application
- Frequently Asked Questions
- Change Log
License
This software is free to use. It is distributed as-is, without warranty or guaranteed support. Modification, redistribution, resale, and reverse engineering is not permitted.
About
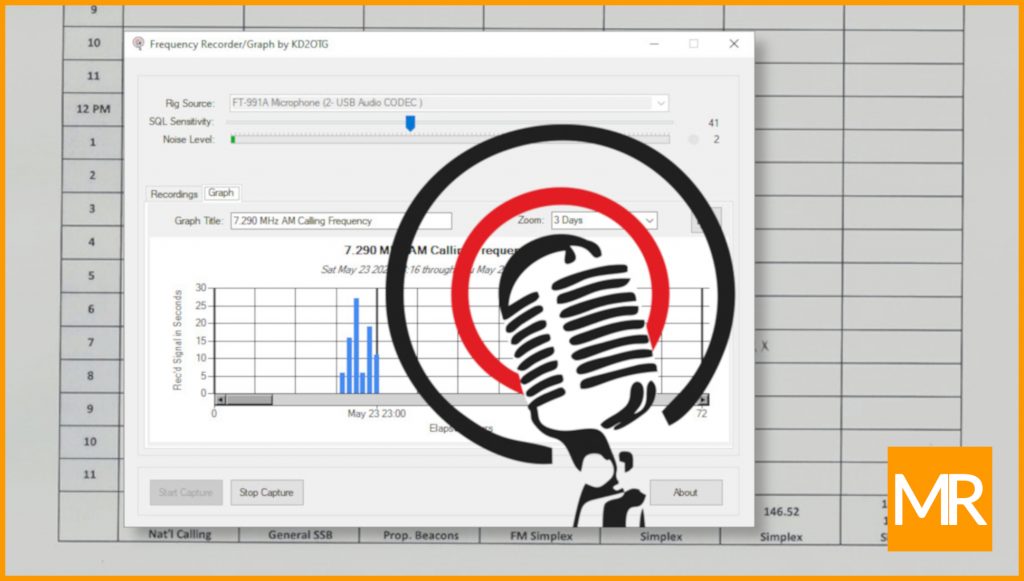
Frequency Recorder/Graph by KD2OTG is an application that monitors a radio frequency, recording .WAV audio files and plotting a usage graph.
History
When I earned my first amateur radio license in autumn of 2017 and purchased a hand-held transceiver, I wanted to know what frequencies, modes, repeaters, and times-of-day that were popular with other amateur operators near me. To accomplish this, I created a heatmap – a grid on a sheet of paper showing hours of the day down the left-hand column, and various modes and frequencies across the top of the page. Over the period of several weeks I listened to my transceiver and placed checkmarks in the grid whenever I heard activity. After some time and effort, I had a visual heatmap representation of the popularity of amateur radio in my area.
It is now two and a half years later and I continue to enjoy the amateur radio hobby, therefore I decided to take this concept to the next level by creating a software application that can run unattended while I am at work or asleep.
I have successfully used the application for:
- Determining popularity of local 2-meter and 70-cm analog and digital repeaters
- Determining popularity of 2-meter SSB by monitoring 144.200 MHz
- Monitoring the International Space Station for unscheduled 2-meter FM voice transmissions on 145.800 MHz
- Monitoring popularity of the 40-meter AM calling frequency on 7.290 MHz
- Monitoring VHF air band frequencies, amateur simplex frequencies, and rail/public transmissions
Installation
Installation is accomplished using the traditional method of installing Windows software by running the FRG-1-0-0-setup.msi installation program and following the installation wizard prompts. A modest 3MB of storage space is required for installation. Additional storage is required for each .WAV file recorded and saved.
Getting Started with the Application
- Before starting the application, ensure your transceiver (rig) or scanner is turned on and connected to your computer using either a USB or mic-in line connection. When the application opens, choose your rig’s audio input source from the Rig Source dropdown list.
- Depending on the noise floor of your selected band, mode, frequency, and physical location, experiment and set the SQL (squelch) Sensitivity slider from a scale of 0 to 100. In many scenarios, you will choose a value between 5 and 20. The application will always default to a value of 15 upon startup.
- As your rig begins to receive audio, you will notice the Noise Level meter begin to move. This will assist you in setting the SQL Sensitivity in step #2.
- The Noise Level indicator value will change, and the Recording icon will illuminate red when the noise level exceeds the SQL Sensitivity.
- A list of recorded .WAV files will appear on the Recordings tab. Captured recordings will be from 15 seconds to 45 seconds in duration.
- Use the Record button to start and stop ad-hoc recording. This is only enabled when not in data capture mode. The Play button will play the selected .WAV file, regardless of whether in data capture mode or not.
- Use the Delete button to send one or more recordings to the PC’s Recycle Bin. Use the Open Folder button to access the .WAV files using Windows Explorer, particularly if you wish to open or edit the .WAV files in a different application.
- Press the Start Capture button to begin automatic data capture. Press the Stop Capture button to stop automatic data capture.
- Enter text into the Graph Title textbox that you would like to appear as the title of the graph.
- Select the Zoom dropdown value, in days, to correspond with the level of detail you would like to see on the graph. Use the horizontal scrollbar to page, particularly prior to printing. The application will capture up to a maximum 30 days (720 hours) of data.
- Press the Print button to print the graph to paper, or to send the graph to third-party image capture software (not provided) for further editing. The print button will only print the level of granularity shown on the page, therefore if your zoom is not set to 30 days, you will have to use the horizontal scrollbar and print several pages individually.


Frequently Asked Questions
- Currently there are no frequently asked questions
Change Log
June 2020, version 1.0.0
- First public release
###
