Six months ago I first began seeing advertisements on social media for Adventure Kit: 30 Days Lost in Space (InventrKits LLC). I was instantly intrigued by the cleverness of the kit and ingenuity of the young men who created it. To show my support and satisfy my curiosity, I ordered one.
The kit is reminiscent of the Radio Shack electronic project lab I once received from Santa Claus as a child. In retrospect, I believe I was probably a few years too young to grasp the enjoyment of the project lab. It sat unused for many years until being tossed out during my college years when my family moved to a new home.
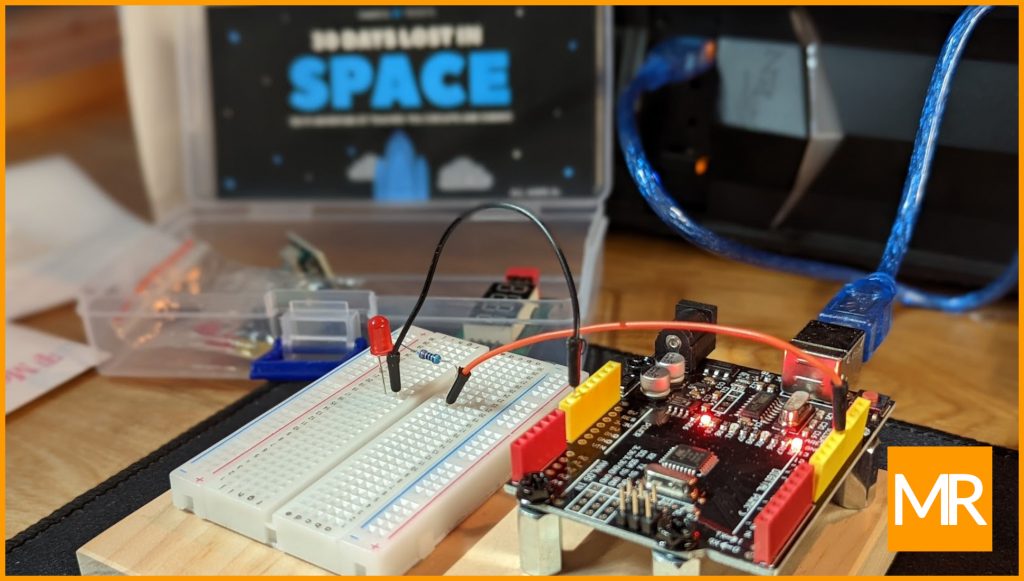
Adventure Kit: 30 Days Lost in Space is a small box of basic electronic components, an Arduino Hero board, and online access to 30 video tutorial lessons (20-30 minute running time each) on basic programming and electronic components.
What I found most clever is how the team at InventrKits LLC crafted a video tutorial series based upon a science fiction scenario that finds our spaceship stranded beneath an ocean of a distant planet. Through the 30 video tutorials, we’re taught how to repair our spaceship by controlling basic electronic components like switches and light emitting diodes (LEDs).
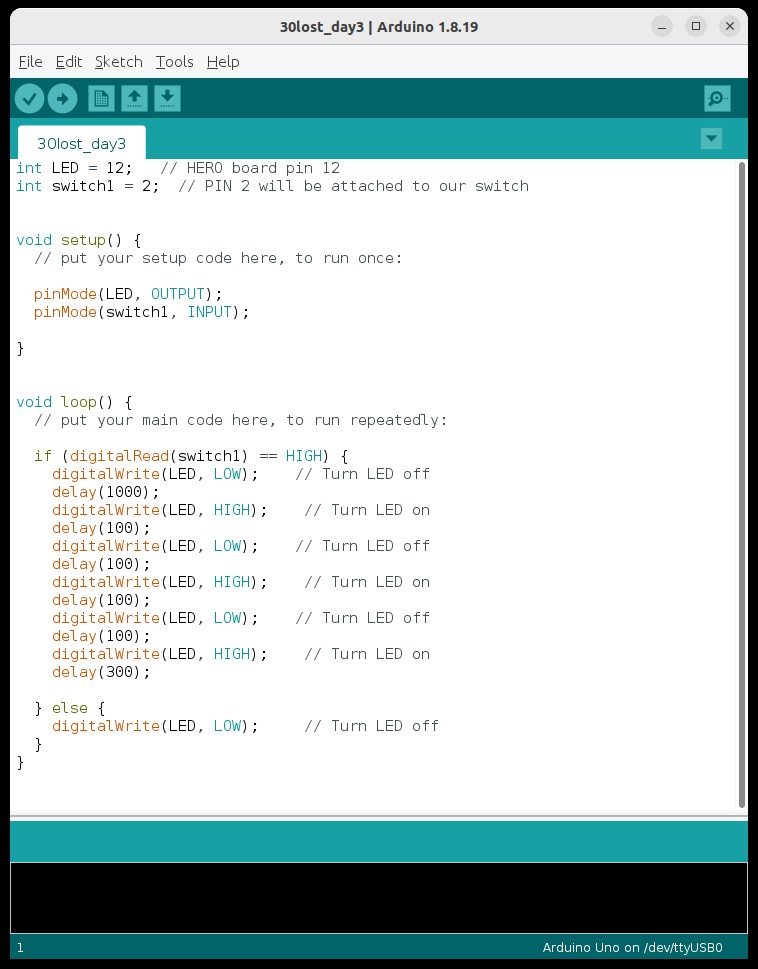
I don’t want to spoil the entire story line, but for example, Day #2’s lesson finds us learning how to restore power to our ship’s lighting system (by controlling the power to a LED).
Once the kit is in-hand, all that remains is to download the free, open-source Arduino integrated development environment (IDE) to a PC, MAC, or LINUX computer. This is the software application where the Arduino firmware code is written, and then pushed from the computer across the included USB cable to the Arduino board.
The kit is proving to be great fun. If you are considering this for a young person, I recommend it is suitable for people age 11 years and up.
###